 Animation Shop & PSP 8,9,10,
HOOTEYE August 2008
There are probably many Tutorials on how to animate your PSP work
using Jasc Animation Shop, this is simply my version of how to do it.
Many thanks to Frannykay of Front Porch Graphics & Friends, for pointing me
in the right direction, and giving me the motivation to write this Tutorial.
This Tutorial was wrote for animating work created with
PSP X, but holds good for PSP 8, PSP 9, and PSP X1
I have tried to write this Tutorial so the various steps are easy to follow, and
hopefully will prove to be useful to members who are new to PSP and Animation Shop.
To demonstrate the various steps outlined in this Tutorial,
I will be working through my Gold Heart Orb Doves PSP file
OK HERE GOES.
PSP PART
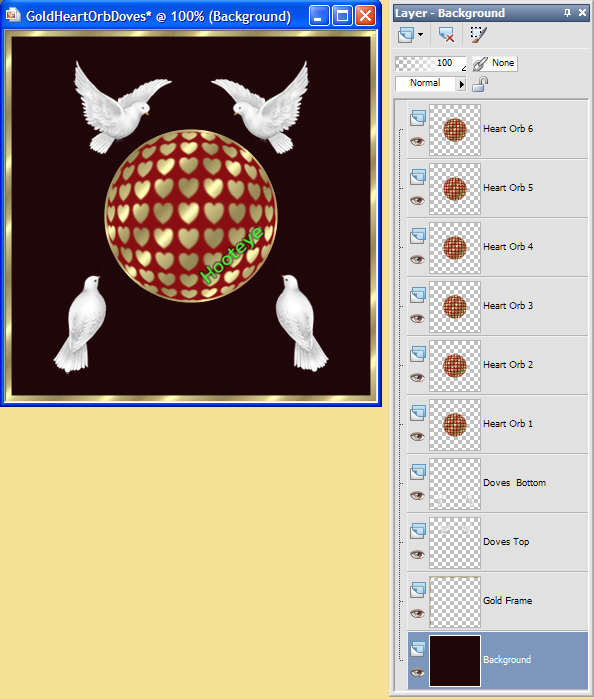
This is the Document and Layer Palette I will be working with.
STEP (1)
Going to the Layer Palette , I select the "Doves Bottom Layer", I then right click on it and
then click Merge Down, I also Merge Down the "Doves Top Layer" and the "Gold Frame Layer".
My Layer Palette now looks like this this.
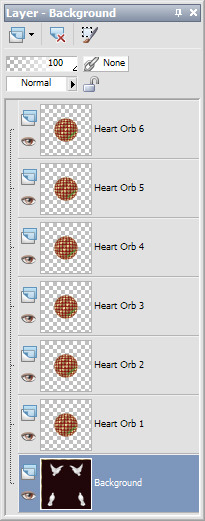
NOTE:- You will see the Visibility Eye Icons for all Layers are on, this is important, as
it will ensure that all these Layers become visible frames when I go to Animation Shop.
STEP (2)
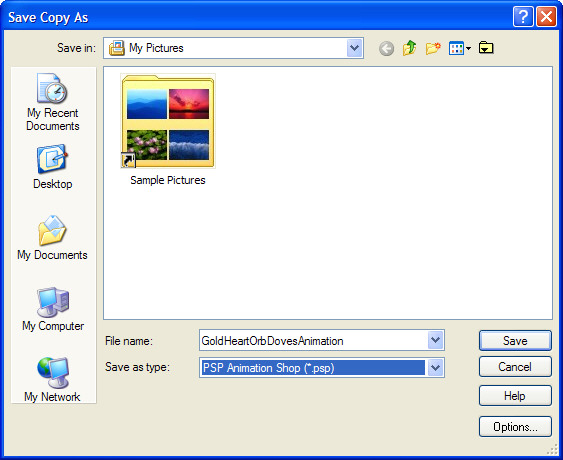
On the overhead bar I click File, in its drop-down menu, I click, Save Copy As, when
the below pop-up box appears, I scroll its drop-down menu, and select PSP Animation (psp)
I name the file "Gold Heart Orb Doves Animation" then click save, (I am saving it in My Pictures).
As the rest of this Tutorial will now be referring to Animation Shop, I can close down my PSP program.
_____________________________________________________
ANIMATION SHOP PART
STEP (3)
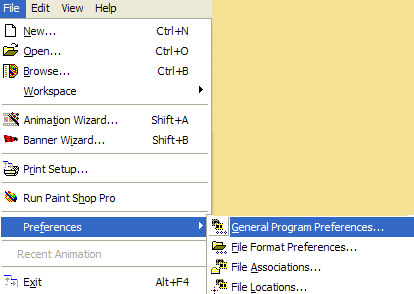
I have open Animation Shop, so the first thing I must do, is to check that I have the correct settings,
so going to the overhead bar, I click File, in its drop-down menu, I click General Program Preferences.
When the Preferences pop-up box appears I click on the
Layered Files Tab, with the below settings made, I click ok .
STEP (4)
Going to the overhead bar I click File, in its drop-down menu I click Open when its pop-up
box appears I look in My Pictures and select the "Gold Heart Orb Doves Animation" File .
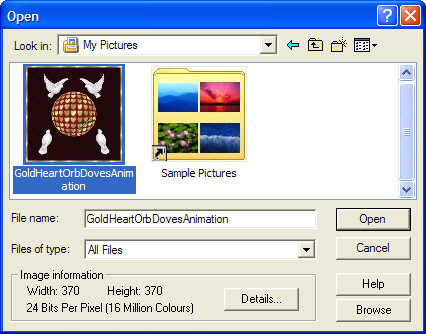
I then click open, I now have this file opened in Animation Shop
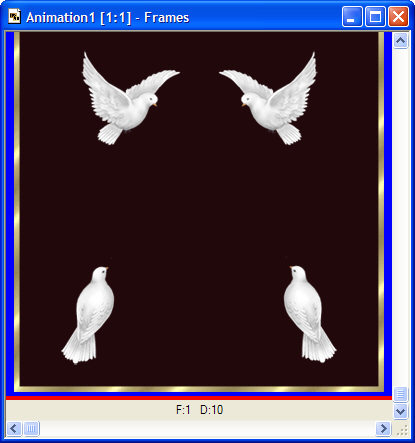
STEP (5)
To make the "Gold Heart Orb Doves Animation" Document easier to work with I will reduce its appearance
which in turn will automatically open up and show all its frames, so going to the overhead bar I
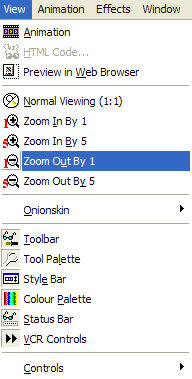
click View in its drop-down menu I click Zoom Out By 1, I repeat this Zoom step again.
my Document now looks like this.

STEP (6)
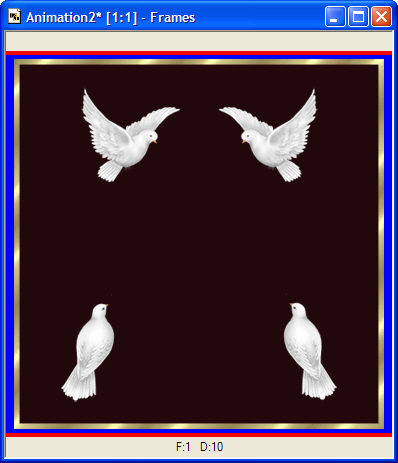
Going to my Document, I click on the first frame (F:1) to make it active then
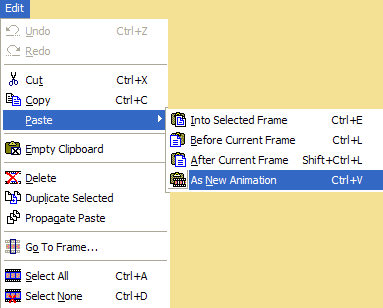
going to the overhead bar I click Edit, in its drop-down menu, I click Copy
I again go to Edit, in its drop-down menu, I click Paste/As New Animation
As shown below, I now have two Documents up on My Animation Shop, Work
Place, one named Animation 1, and the other one named Animation 2,

STEP (7)
I now need to copy Animation 2 Document, (black background white doves) 5 times, so
clicking on it to make it my active Document, I hold down my ctrl key and tap down 5 times
the L key, I will now reduce its appearance and open up its frames (see Step 5)
STEP (8)
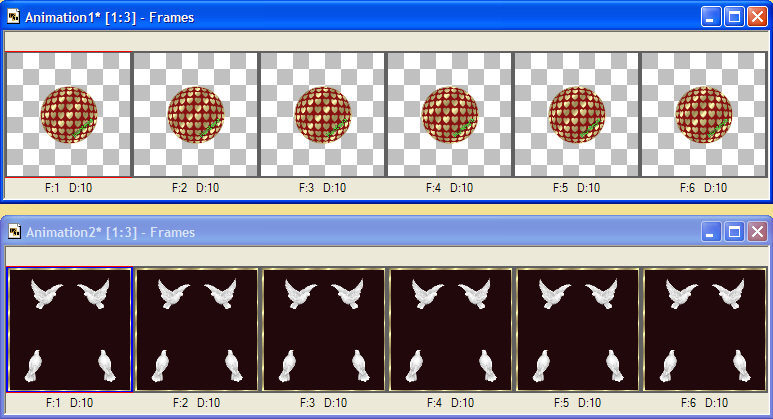
Going to the Animation 1, Document, I click on Frame (F:1) (black background white doves) to
make it active, I then tap down the delete key, I now have just my 6 gold heart orb frames.
My work space now looks like this.
STEP (9)
With my Animation 1, Document, (Gold Heart Orbs) still active, I then go to the overhead bar I click
Edit, in its drop-down menu I click Select All, going back to the Edit drop-down menu I click, Copy
NEXT
I now go to and click on Animation 2 Document (black background white doves) I then go to the overhead bar and click
Edit, in its drop-down menu I click, Select All, going back to the Edit drop-down menu I click, Paste/Into Selected Frame
My Animation 2 Document now looks like this

Moving my mouse I position the Gold Orb Image, when satisfied I left click my mouse,which in
turn will paste all the Gold Orb frames in the correct sequence into Animation 2 Document
My Animation 2 Document now looks like this

Step (10)
Going to the overhead bar I click the View Animation Icon

This is the result, I achieved,

Step (11)
Going to the overhead bar I click File, in its drop-down menu I then click
Save As, when its pop-up box appears I name my file and save it as a gif file
More of my Tutorials can be seen
here

Hooteye, August, 2008